
Once the OpenMusic application is loaded, it shows the Listener window in the lower part of the screen and the Workspace window in the upper part. You will use the Workspace window in order to interact with OM.
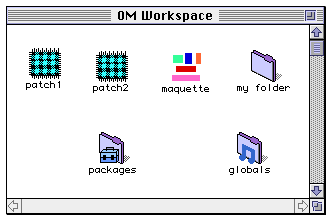
The OM Workspace is based on the Macintosh finder a metaphor. It is a window where you create new patches, new maquettes and new folders containing patches, maquettes of subfolders. Patches and maquettes are documents symbolized by icons. When opening them by double-clicking, you get a window showing their content. The Workspace implements an idea of persistence. That is you expect to find your workspace as you left it at the end of the previous session. Thus it is your responsibility to delete any unwanted object, by selecting it and issuing the clear command in the menu Edit. Anyway, objects such as patches ask you to confirm whether they are to be saved when you quit the OM image. Or you can use the save command (command-s) upon a patch icon or window. Save command on a Workspace with no particular object selected saves the whole workspace thus guaranteeing persistence in the case of an unexpected crash.
You may create as many independent workspaces as you wish, and switch from one to the other. This may be useful when there are several users on the same machine, or several different projects for a single user. You can create new Workspaces, choose among existing ones, at OM startup.
OM maintains a mac folder corresponding to each workspace created. This folder is an image of your Workspaces environment, and should not be modified directly. However, in case of serious problems while loading OM, you may move this folder out of the OM folder on the finder: next time it is loaded, OM will create a new empty default Workspace. You'll even be able to get your patches back by dragging them from the old Workspace on the finder to the OM Workspace window.
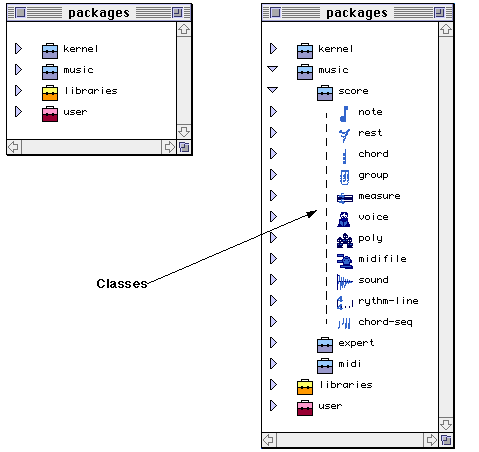
The packages special folder is the place where all the functions and classes are stored. Classes are models from which new objects may be created. For example, the chord class is the model for chords. Each time you'll need a chord object, you'll drag a class icon from its package to your working patch window. Functions are operators. For example, if you need to transpose your chord object, you'll drag the 'om-+' function from its package to your patch.
The package concept is inspired from the Java language. It is a place where related functionalities are stored together. Packages can have subpackages. You'll be able to create your own subpackages in the user package, and fill them with your own classes and functions.
Packages may be opened just as folders on the mac finder, i.e., in a new window or by using the small triangles.
When a package is opened, it shows either subpackages, or a set of classes that are ready to be dragged into a patch window.
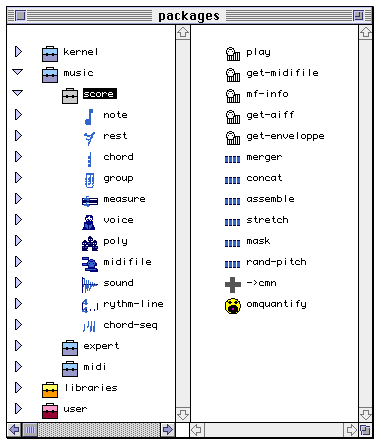
In order to access functions, you must option-click on the lower (dark) half of the small package icon. A new view is then opened and displays all the functions that belong to the package.
Some standard packages are provided with OpenMusic:
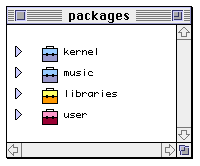
kernel: contains classes and functions for all-purpose data generation and manipulation. The Lisp subpackage contains a set of useful CommonLisp functions and a set of basic classes like list, string, number etc.
music: contains classes for building musical objects (e.g. chords, voices, etc.) that are generally linked with music notation editors and functions for manipulating them (e.g. Rhythm quantifier, unit conversions etc.)
libraries: a library is an ensemble of classes and functions programmed directly in Common Lisp by the users. Every library can be designed to give to OpenMusic a personal touch, according to our own aesthetic and programming tastes. When you double-click on a library package (in the lower half of the small suitcase icon), the library Lisp code is automatically loaded. Then you access its classes and functions as usual.
user: in OpenMusic, you may program visually your own classes and functions. They will be placed in the user package.
globals: The globals folder stores variables (i.e. class instances) that you want to share among patches. This is an advanced feature that will not be discussed here.
This is the place where OpenMusic prints out messages to the user.
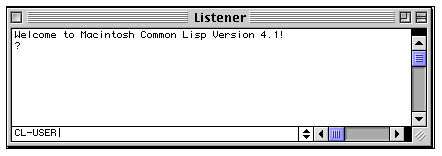
It is in this window that OpenMusic will print out any error messages, which are the results of any operations or any warnings while you are editing or running a patch.
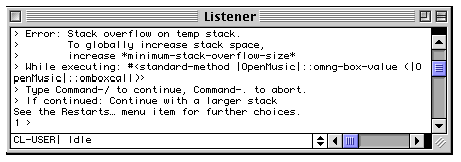
This window is the link between OpenMusic and Macintosh Common Lisp. In other words, you can see in the listener window the result of every step while programming your patch and whether or not your patch is working properly. In case of an error, select the command "abort" in the menu "Lisp" in order to reset the error level to 0.
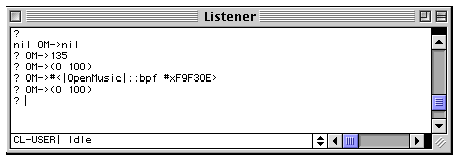
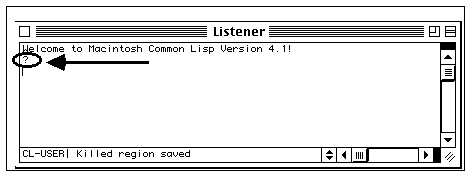
When you see the question mark in the Listener window it means that OpenMusic is completely loaded and that you can start work with OpenMusic.
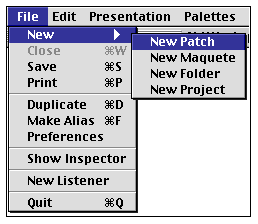
With the active window being the workspace window, choose New Patch in the File menu.
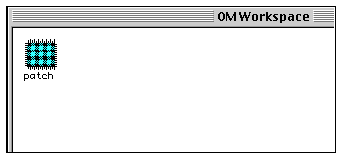
on the top left part of the workspace window you will see a new icon.
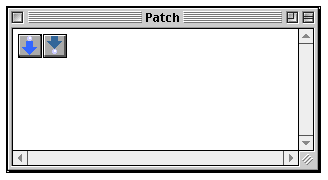
Now double-click on the patch icon to open its editor window.
OpenMusic is an interactive environment that provides a graphical way of programming by connecting icons. Icons that may appear inside a patch represent either classes, functions, subpatches or maquettes.
Modules are boxes that contain inputs and outputs which can be connected to each other.
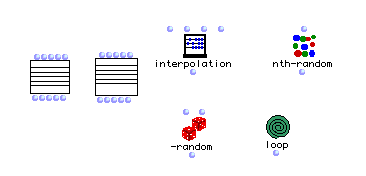
The module is the basic unit of OpenMusic. Its graphical representation is an icon and every icon is associated with a specific function. In other words, a module is a graphic representation of a specific Common Lisp function. OpenMusic modules have various types: general Lisp Function (sum, difference, quotient, product...), computation (logic, set operations...), conversion between numeric and symbolic values, generation of musical structures (interpolation of patterns, change of melodies, creation of series and spectra...) and graphical editing of curves and normal musical notation.
An ensemble of connected boxes is a patch. A graph of the connection between these modules defines the specific way of creating and transforming musical data.
Just to begin with, let's build a graphical patch that computes the sum of two numbers, 6000 and 700 in this example.
To program with OpenMusic icons we must bring them in our patch window. There are three ways of doing that:
· by dragging icons from the workspace
· by typing directly a name in the patch window.
We will use the first method for our example. First, open the kernel package.
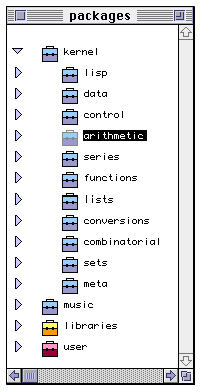
Then "option-click" on the arithmetic package icon, on the lower (dark) half. A new view will appear with all the available arithmetic functions.
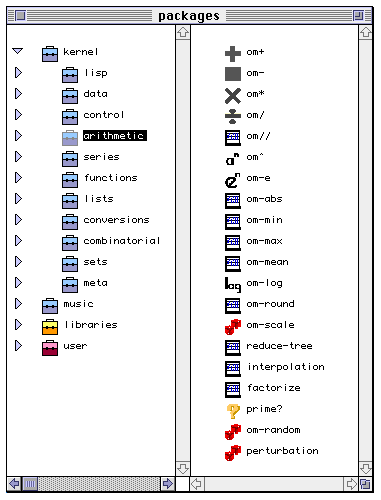
Then drag the om+ icon and drop it on your patch window.
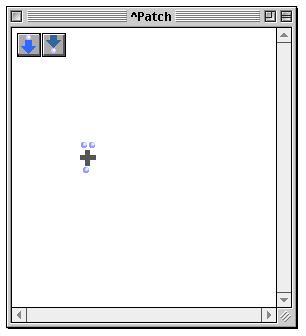
Now we have to edit the two inputs in the "OM+" box. Shift-click on the left input. A framed rectangle will appear. This is an input box where you can enter constant data.
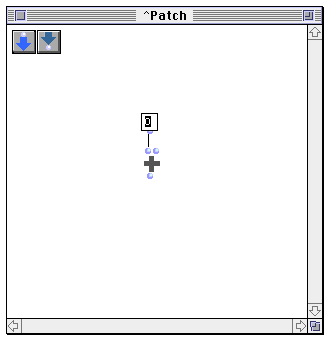
Double click in the input box you just created. This operation will set the input box for editing, allowing the new value to be entered directly from the keyboard.
Now you can enter the number 6000. You validate your input by clicking elsewhere in the window or by pressing the 'enter' key (NOT the 'return' key).
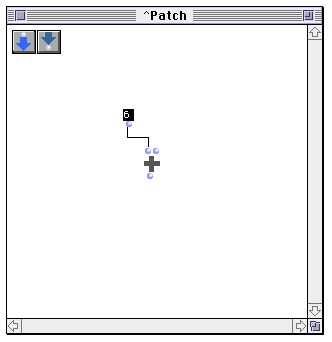
You can change the size of the input box by moving the cursor near the bottom-right part of the box. The cursor will change to a small arrow. Then click-drag to change the size.

Repeat the same operation for the second box in order to obtain the following result.
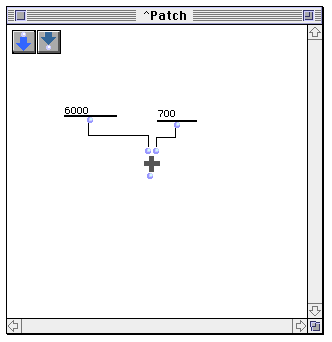
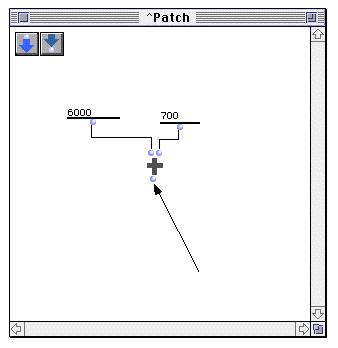
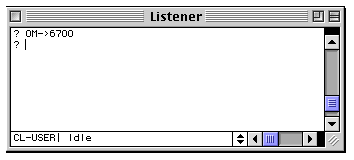
Now you are ready to evaluate this little patch. Option-click on the small round outlet below the 'om+' icon. The result will appear in the listener window: You may also select the icon 'om+' and press keyboard 'v'.
Now we will continue this example by adding a multiplication in order to compute the expression (6000 + 700) * 10.
Add an 'om*' icon by dragging it from the arithmetic package, just as you did for the 'om+' icon.
You must have on your window the following icons:
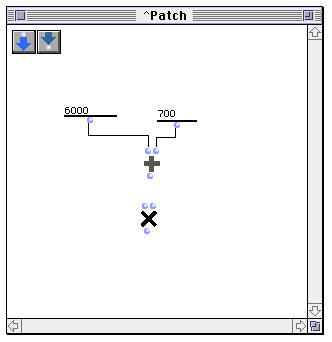
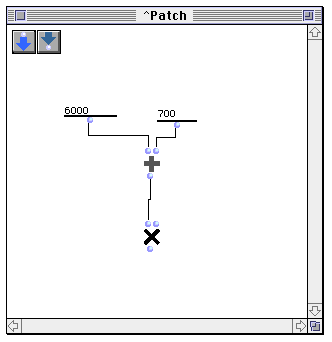
Now you have to connect the "OM+" output with the input of the "OM*" module. To do this, click in the outlet of the "OM+" module and drag the mouse, while keeping the button pressed, to the left inlet of the box "OM*".
"Shift-click" on the right inlet of the 'om*' icon and edit the value 10. If you have done everything correctly, you will now have the following patch:
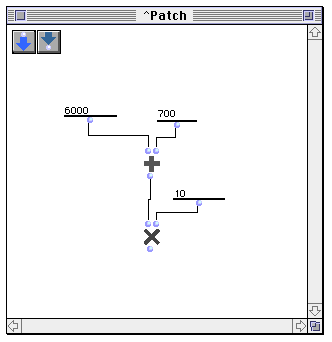
Evaluate as before ("Option-click" on the outlet of the om* icon), and see the result in the listener window.
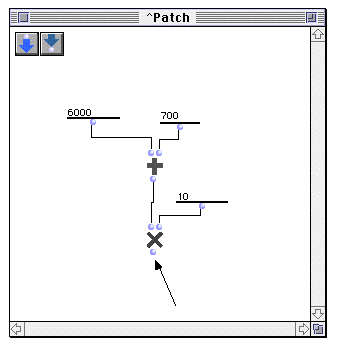
Note that in order to evaluate a patch, you generally option-click on the outlet of the last icon of the chain. But, you may actually option-click on any outlet in the chain. In this case you may obtain a partial evaluation of your patch.
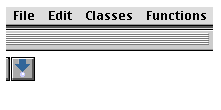
You may invoke classes and functions by using the menu bar. The classes menu gives you access to the OpenMusic classes. The function menu gives access to the functions. These two menus are organized hierarchically by packages and subpackages, exactly as in the Workspace packages special folder. These menus appear only when a patch window is opened.
Select an item in the function menu :
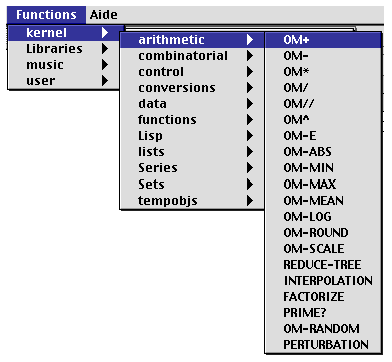
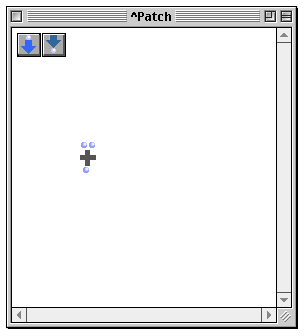
Then click anywhere on your patch window. The icon for the selected module will appear.
Command-click with the mouse on the patch window and drag the mouse while the mouse button pressed. An editable rectangle box appears, with the word 'undefined' inside.

then press the "enter" key or click elsewhere on the patch window. The om+ icon will appear on the patch window.
In our small example above, we have built a patch using functions like om+ and om*. Functions take inputs, process them and output a result. Thus functions modelize a computation.
Another important topic in computer languages is the idea of data structure. In OpenMusic, data structures are described using classes. As was said before, a class is the model from which new objects may be created.
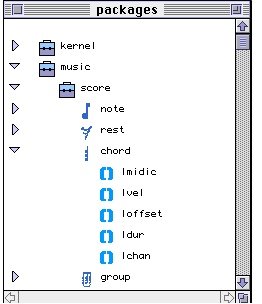
In order to make that clear, open the kernel:music:score package. You'll see a set of class icons: note, chord, voice etc. By clicking on the triangle near the chord icon, you'll make the internal structure of the chord class visible. A list of items called slots are listed below the chord icon.
We can see here that a chord is made of a list of midics (MIDI numbers), a list of velocities, a list of offsets, a list of durations and a list of channels. The small blue list icon in front of each slot (that looks like a pair of parentheses) tells us that these slots are supposed to contain lists (and not numbers or symbols for instance). We say that the slots are typed.
When you drag a class icon into a patch window, it appears as a rectangle icon with inlets and outlets and the class icon drawn in the middle. When dragging a class icon into a patch window, you create a factory which "references" the class from which it originates. When evaluated, this factory generates objects.
For example, drag a chord class icon to a patch window. You will see:
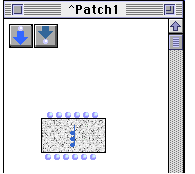
This new kind of icon is called a Factory. By evaluating this factory (option-clicking on the leftmost outlet), we ask the class chord to deliver a new chord object, as can be seen in the listener.

Evaluating a factory creates an instance of the class referenced by this factory.
Now select the chord factory icon in your patch (by clicking on it) and press the key 'm'. The icon will be turned into a graphical view.
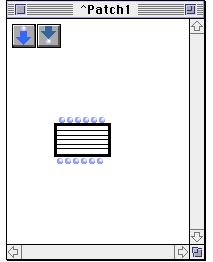
Move the cursor near the bottom-right part of the icon. The cursor will change to a small arrow. Then click-drag to change the size.
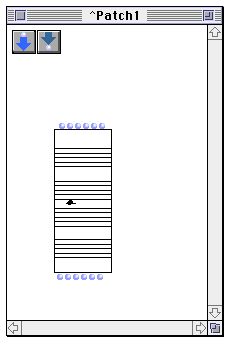
Now double-click on the chord factory icon. An editor window will appear, where you'll be able to visualize comfortably your data and edit it.
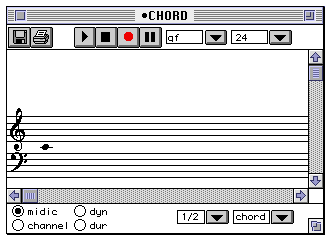
On a factory icon, there are inlets and outlets (small circles) , that correspond one-to-one to the slots in the associated class, except for the leftmost inlet (we will not discuss this inlet now) and the leftmost outlet.
Click on the second inlet on the left. An editable rectangle box will appear. Type in the value: (6000 6400 6700), then press 'enter' or click elsewhere in the patch window. Then evaluate the chord factory by option-clicking on the leftmost output. You should see:
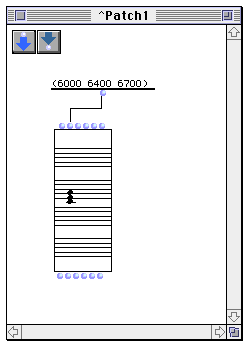
What you have done actually is give an initialization value for the slot ' LMidic'. When the chord object is created, it fills the LMidic slot with the data you provided. Thus you have now a chord containing three notes: do, mi, sol. Note that the chord editor window is automatically updated.
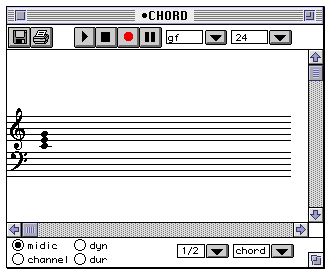
We could as well have given initialization values for the four remaining slots (e.g. LVel, LOffset, LDur, and LChan).
The outlets correspond one-to-one to the inlets. This means that if we evaluate (option-click) the second outlet on the left, we'll get the value of the LMidic slot.
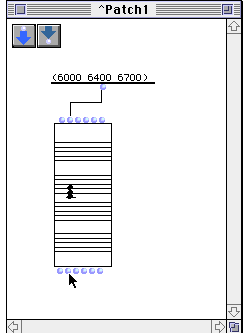

The same can be done for the four remaining outlets.
Remember: the first outlet on the left yields the whole computed object (in our example, a chord object). Remaining outlets yield the values of its slots (in our example, midics, velocities etc.).
You'll proceed exactly in the same manner for any other OpenMusic class, except that not all classes do have graphical editors.
By ctrl-clicking on any OpenMusic graphical object, as well as on window backgrounds, you access to contextual popup menus with different relevant commands.
By selecting any graphical object in OpenMusic and typing command-i, you'll access to an inspector window describing the object characteristics.
OpenMusic has an on-line help and an on-line documentation. Don't forget to use them whenever you need to. To make the documentation window of a box inside a patch window appear, select the box you need information about with the mouse. When you have selected the box, type "d" on the keyboard.

Nota : If you don't have the Common lisp environment installed, the following dialog box could appear :
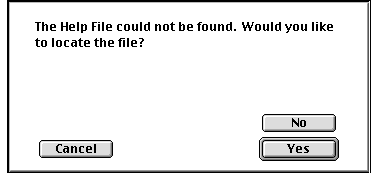
In this case, you should respond "NO" to the question. You will then access the OpenMusic on-line documentation.
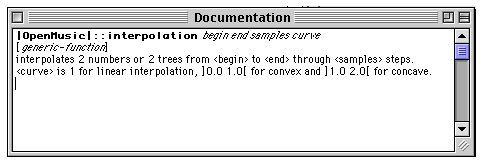
When you start connecting boxes in OpenMusic you often need to know the types of input a module can receive. Command-click on an input will issue a balloon-sttyle help.
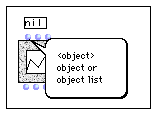
To get information on the outputs of a box "command-click" on them :
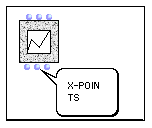
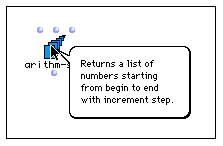
If you "command-click" on the body of an icon you can see a short on-line documentation.
